My Process A Detailed Look at the Steps to Create a Painting
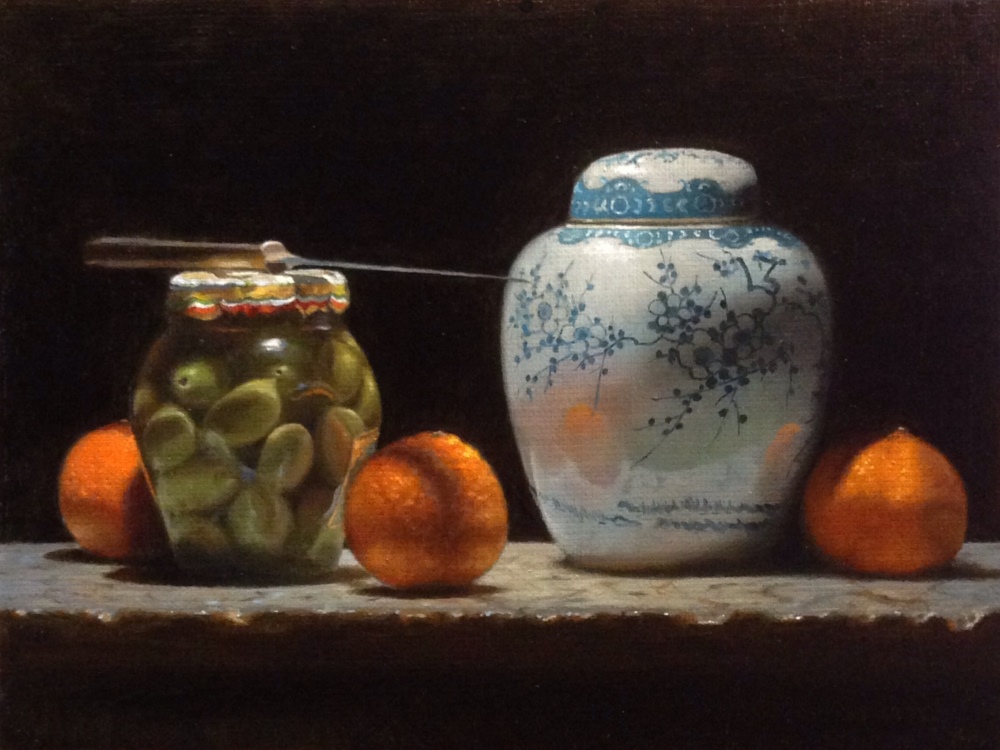
I’d like to describe in depth for you the process I use to make most of my paintings, like the one above.
This is simply a description of my own working methods. It is not meant to document the techniques of other painters. Nor is it an argument for using this process. There are many ways to make a painting – this one happens to be mine.
At heart, this is a version of the Flemish technique, a method that artists have used for at least five centuries to create paintings that accurately reflect the world we see around us.
It’s a slow, deliberate sequence that involves executing discreet pieces of work on a painting, and then setting it aside for days or more before the next stage can begin. In this way, multiple paintings are in progress at any given time.
It is frequently months between the start of a painting and the day it can be framed.
Let’s begin with the materials that make up the painting.
The Materials
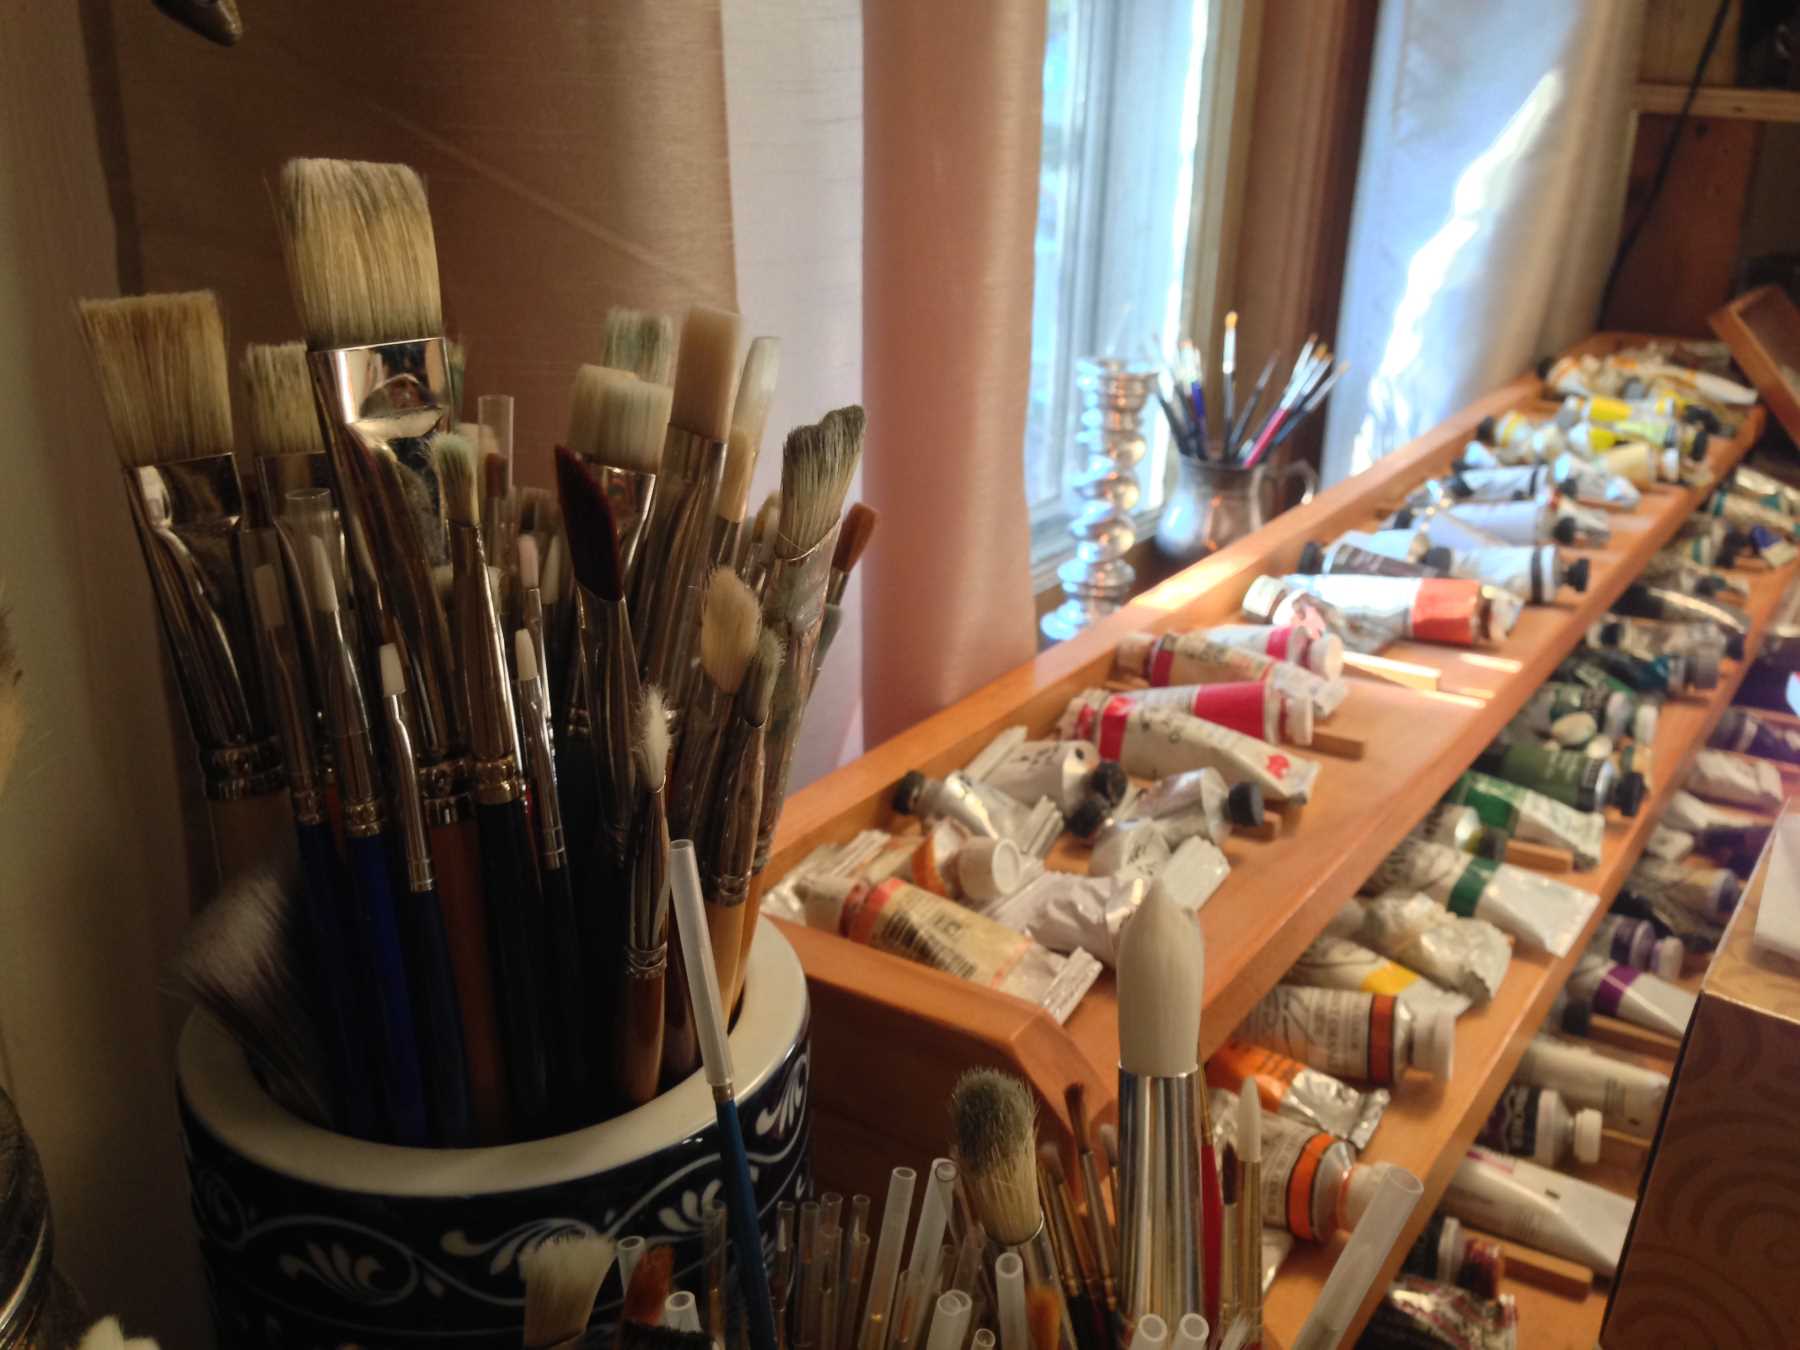
Visual art only exists through the physical materials out of which it is made.
A painting probably won’t look good without a strong, well-built foundation of solid materials… it’s likely to have an uncertain future as well.
These paintings are made with the best materials, so they will look as good as possible now, and years from now.
They are done either on traditionally-prepared panels, or on Belgian linen glued to board.
The preparation of this linen is in many ways similar to the process of making these paintings – multiple steps taken over the span of weeks with long intervals in between.
The paints themselves are oil paints; finely ground pigments mixed into a drying oil – a vegetable oil that undergoes a chemical process that causes it to harden into an enamel-like surface over time. This is most often linseed oil.
To keep the paint layer as simple and pure as possible, very little else is added to the paint; just a few drops of oil when needed to improve flow.
The materials of painting are fascinating in their own right – hours can be spent studying them – for no reason but the pleasure of learning more.
Note: I prepare my own panels, but not my own linen or paint – those are best left to professionals.
The Model
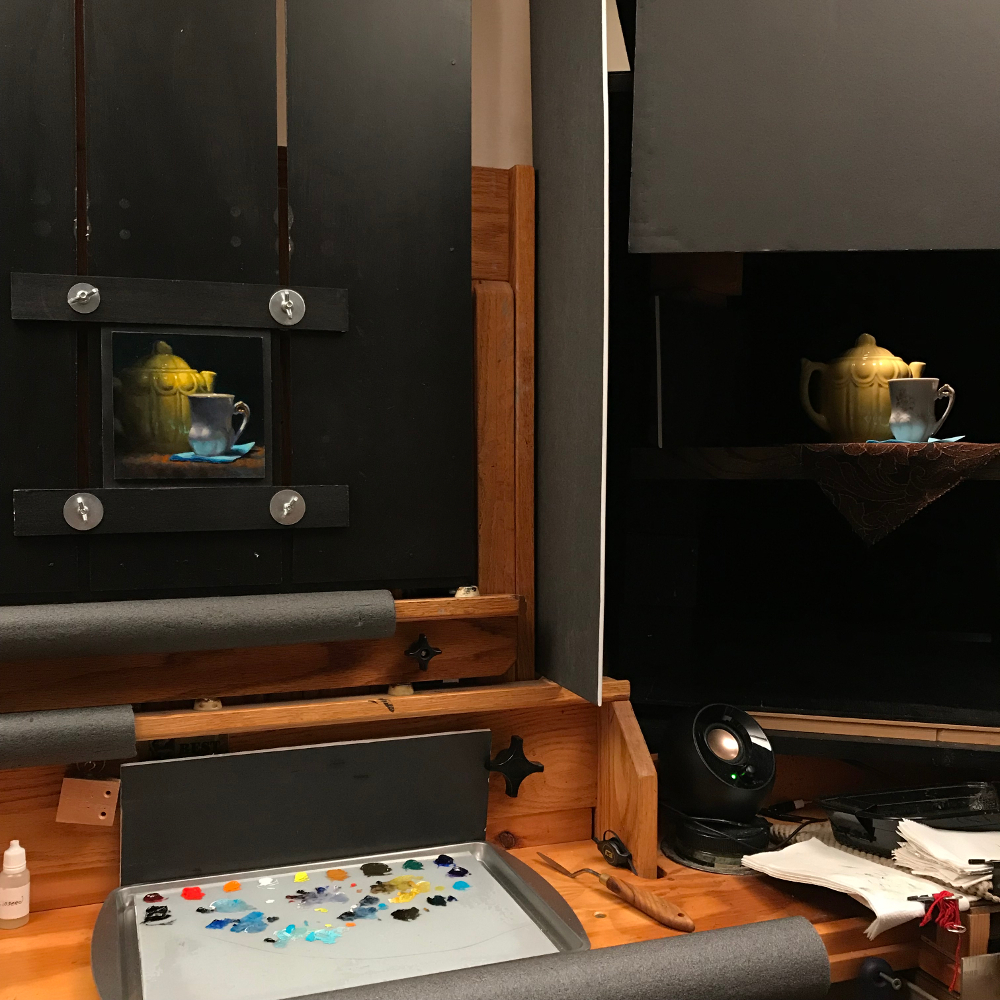
The first step in creating one of these paintings is to arrange the model. The model really consists of two things; the objects being painted and the light illuminating them.
These arrangements are made in a shadowbox – a wooden box 2 foot on each side, which is the stage out of which these paintings grow.
One object is usually selected first, and it is usually the dominant object – the one with the most compelling shape, color, texture or some other interesting visual feature.
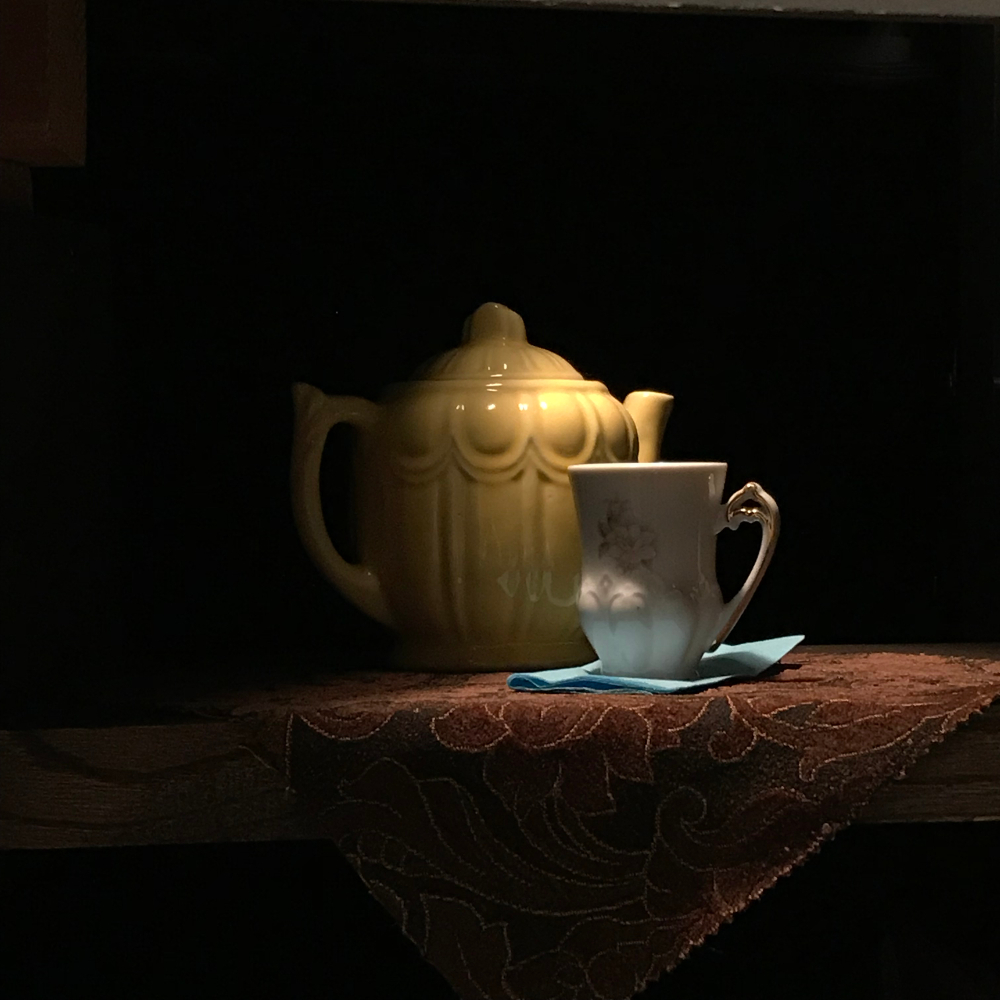
Other objects are then brought into the box – often many dozens – until the right harmony and design is found. The light is constantly adjusted in response to the evolving arrangement.
It’s a process of exploration that can often take an entire day.
Studies
Once in place, the model can be studied.
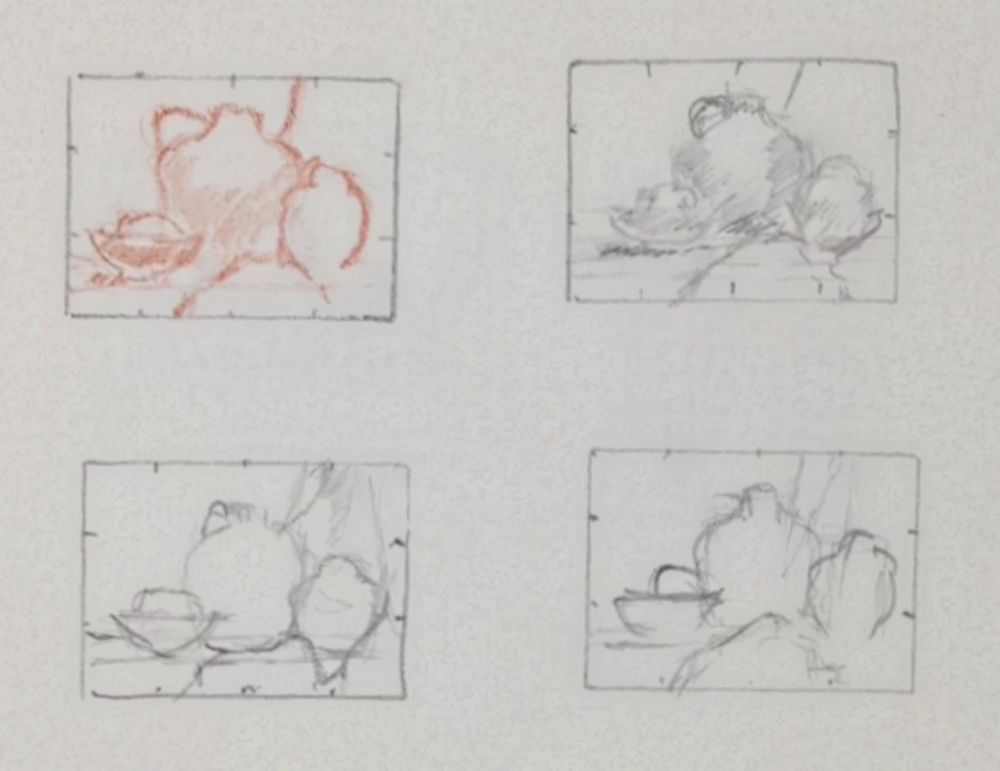
Small sketches (called thumbnails) help work out some of smaller issues of placement, as well as establishing how the picture will look “in the frame”.
These sketches are often followed by a small color study. This is a simplified version of the painting done in full color but at smaller scale. All details are omitted; the purpose is to understand the color relationships and begin to have a feel for the overall design.
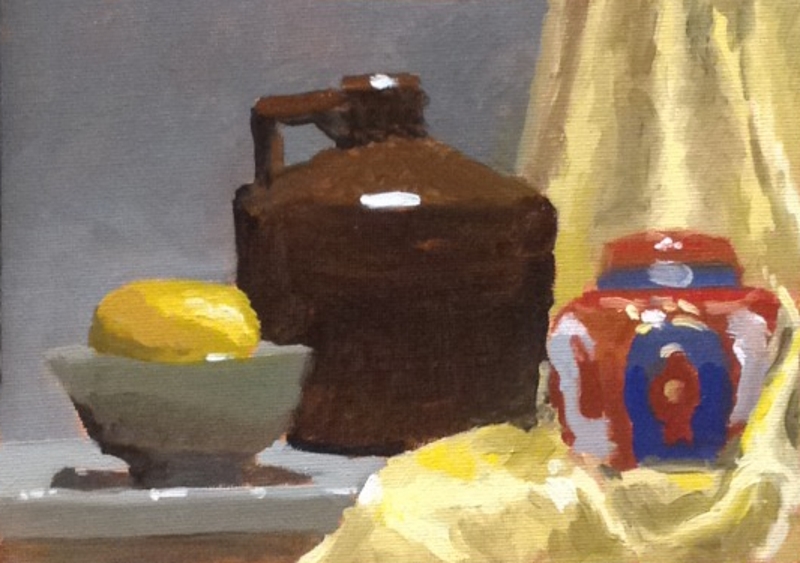
Studies like this deepen the understanding of the model and help clarify how the final painting will look.
They are like a dress rehearsal for the real work.
The Drawing

At this point, work on the painting proper can begin.
A careful drawing is made on the panel or the linen. This is often based on one of the thumbnail sketches. The design is moved from the thumbnail to the panel using the grid transfer method.
The Underpainting

The next step is in many ways the most interesting – the underpainting.
This is a monochromatic version of the painting done directly over the drawing. It is typically black and white (known as a grisaille), though other colors may be used – green and white (verdaccio) being a common choice historically.
Although this may seem like a puzzling step, there are good reasons to do it that often contribute to a stronger final painting.
Eliminating color allows a careful study of values – a technical term meaning the relative degree of light and dark. Accurate values are perhaps more important than accurate colors in depicting the visual world.
An underpainting can also be the foundation for a particularly beautiful technique – glazing.
A glaze is a thin layer of transparent paint that is applied over an already-dry layer of paint – usually opaque paint, though sometimes glazes are painted on top of other glazes.
As the glaze is transparent, we see both the opaque layer and the color layer. Glazing can create a powerful sense of depth and a richness of color that cannot be achieved with opaque paint.
(You may be interested to read more about grisaille underpaintings, and also about a related technique, called the Ébauche.)
Once complete, the underpainting needs to dry – usually for about a week – before the final stage can begin.
The Color Layer
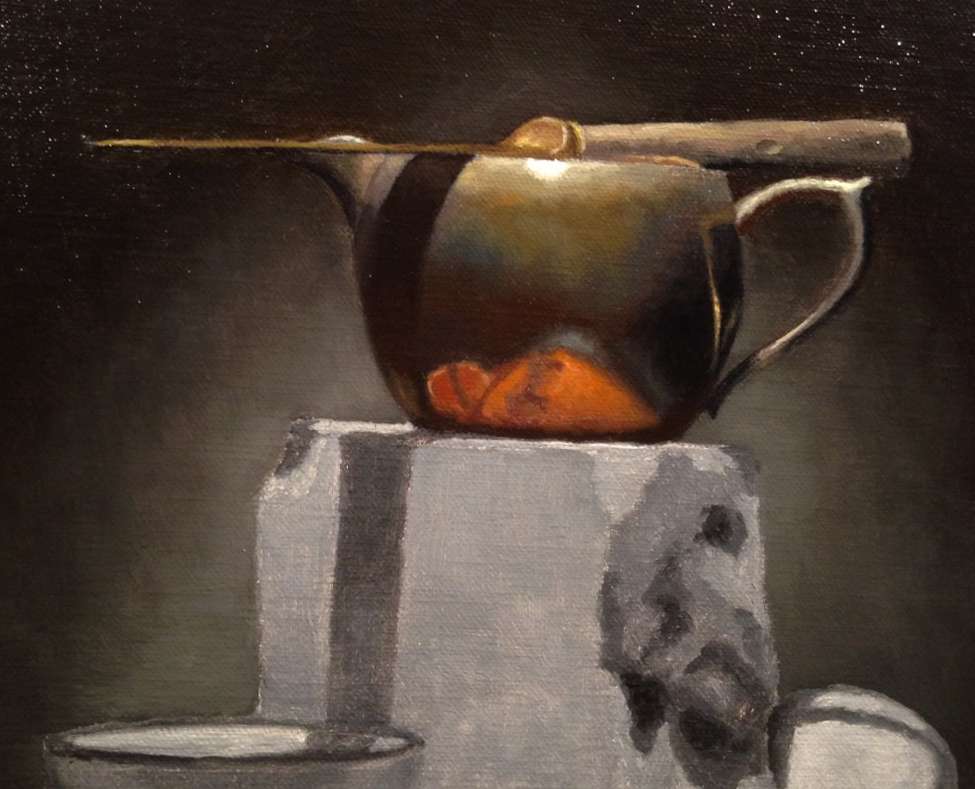
The color layer is what you see when you look at a painting made with this process.
Full color – in a mixture of opaque paint and glazing – is applied to the underpainting, using the values in the underpainting as a guide.
It can be magic to watch the living color begin to emerge from the lifeless underpaintings.
Eventually, the painting is complete, and is set aside to dry.
A closed cabinet reduces dust settling on fresh surface, and the painting dries there for about a month.
Finally, a thin varnish is applied to protect the surface, and the painting is ready to be framed and shown.